Language
 How to Test Common Rail Injectors: A Standard Diesel Injector Testing Procedure
How to Test Common Rail Injectors: A Standard Diesel Injector Testing Procedure
Introduction
For any diesel repair workshop, knowing exactly how to test common rail injectors is the foundation of profitable diagnostics. A faulty injector can lead to poor engine performance,
increased emissions, or even severe engine damage. In this guide, we will walk you through the standard diesel injector testing procedure to ensure 100% accuracy in your daily repair work.
Step 1: Visual Inspection and Cleaning
Before placing the injector on your common rail injector test bench, you must perform a thorough ultrasonic cleaning. Dirt or carbon deposits can ruin the highly sensitive flow sensors of the testing equipment.
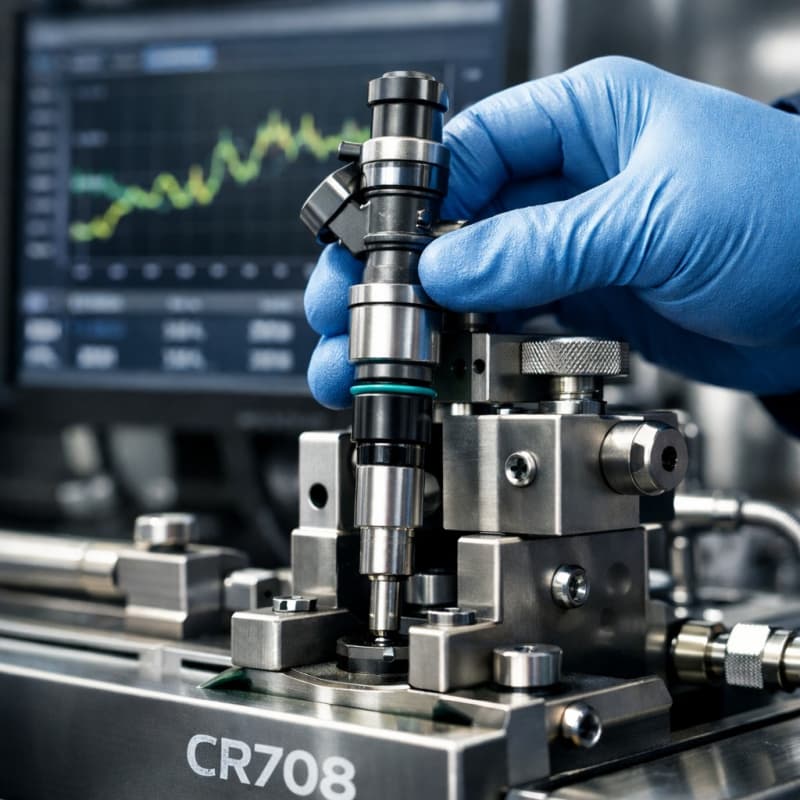
Step 2: Mounting and Sealing Check
Mount the injector securely. The first crucial step in the diesel fuel injection testing process is the leak test. Apply high pressure (up to 2000 or 2500 bar depending on the model) to check for static leaks at the nozzle,
control valve, and backflow areas.
Step 3: The Core Testing Steps
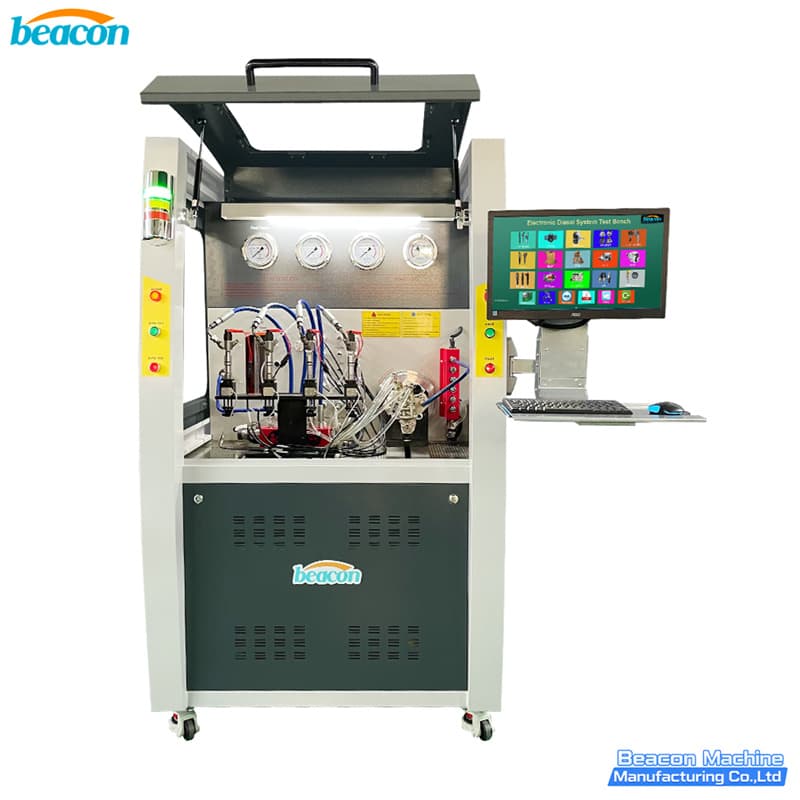
A professional diesel pump and injector tester will automatically run through several critical stages:
VL (Full Load Test): Measures the maximum fuel delivery at maximum rail pressure.
EM (Emission Test): Checks the mid-range fuel delivery.
LL (Idle Speed Test): Ensures engine stability at low RPMs.
VE (Pre-injection Test): Crucial for modern engines to reduce combustion noise.
Conclusion
Following a strict diesel injector testing procedure guarantees that your customers won't return with the same problem. To achieve this, you need highly accurate equipment.
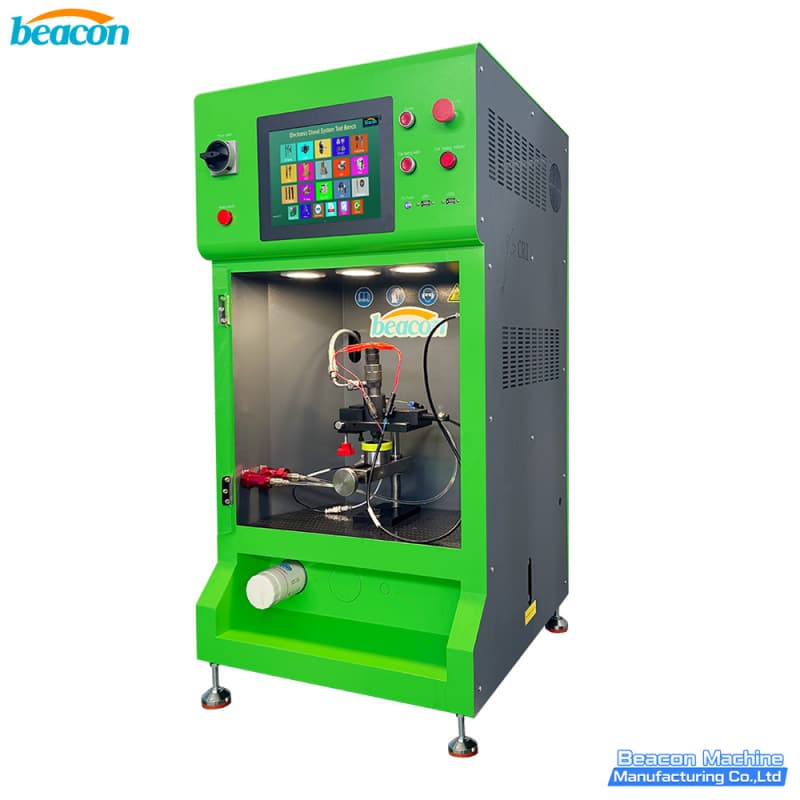
If you are looking to upgrade your workshop, explore our latest computerized common rail test bench designed for high-precision Bosch, Denso, and Delphi testing.
Related products
BEACON MACHINE EPS290 Integrated Common Rail Fuel Delivery Analyzer | Professional Diesel Injector Tester
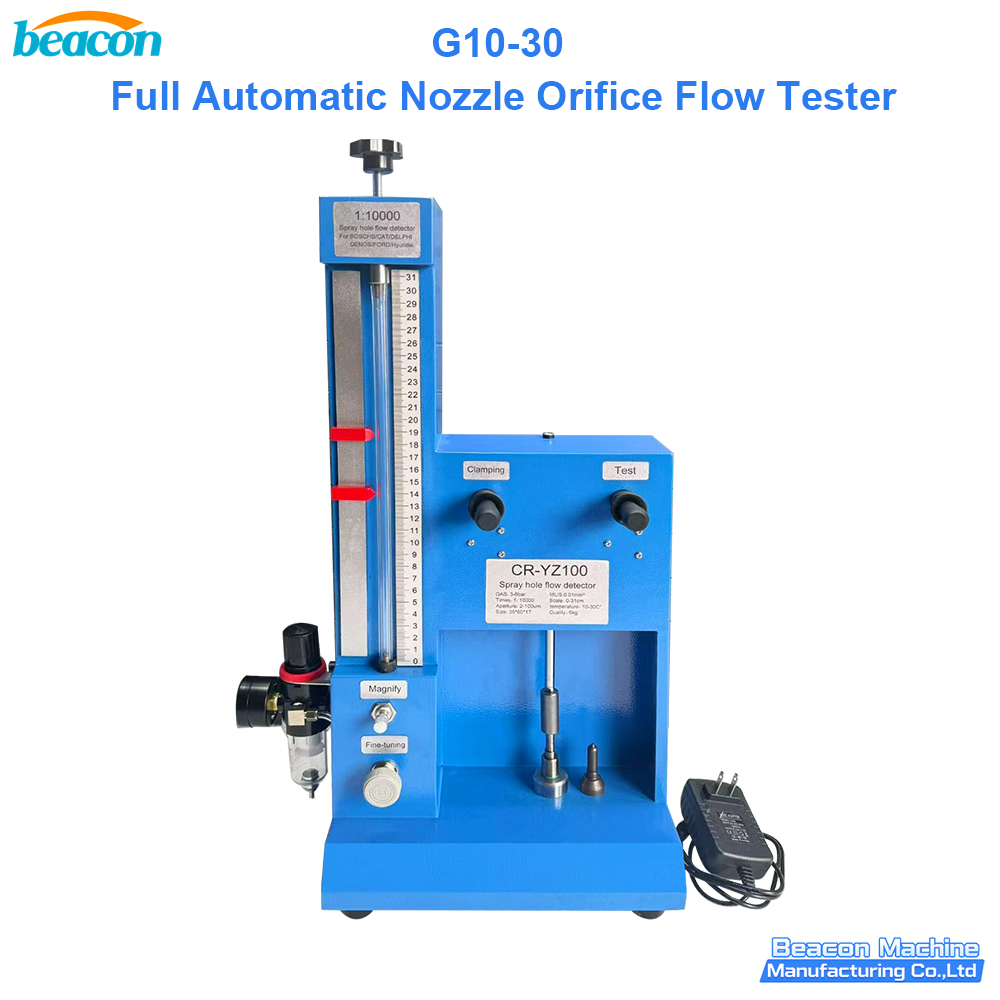
G10-30 High Precision Automatic Nozzle Orifice Flow Measurement Instrument | Professional Nozzle Orifice Flow Tester BEACON MACHINE
CR1029 Fully Automatic Common Rail Injector and Pump Calibration Machine | Common Rail Diesel Test Bench BEACON MACHINE
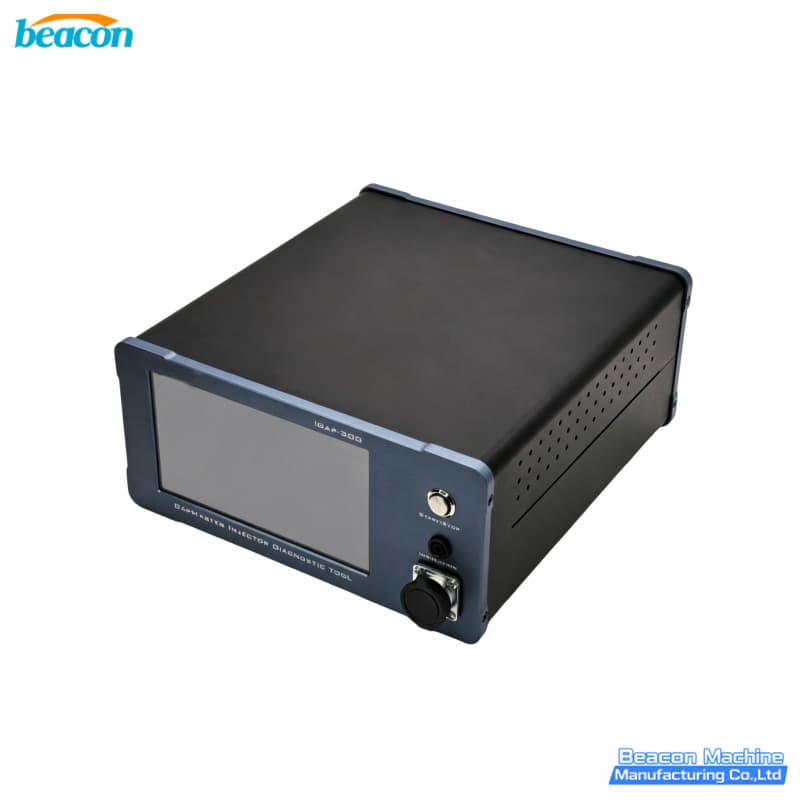
Professional Piezo and Solenoid Injector Calibration Station I-GAP300 | Piezo Injector Tester - BEACON MACHINE
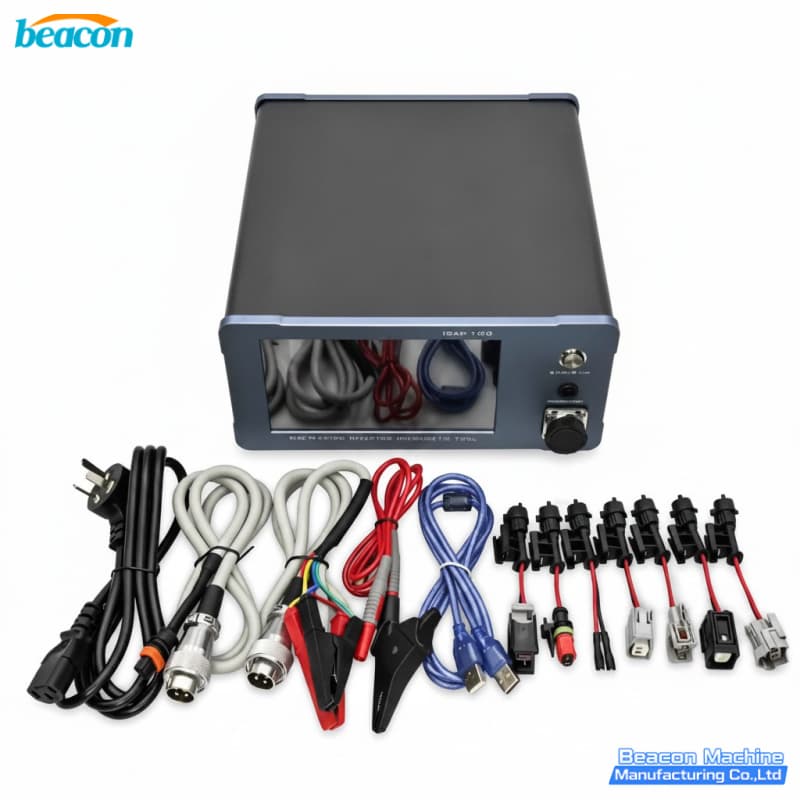
Common Rail Injector Diagnostic Tool I-GAP100 | Common Rail Injector Tester - BEACON MACHINE
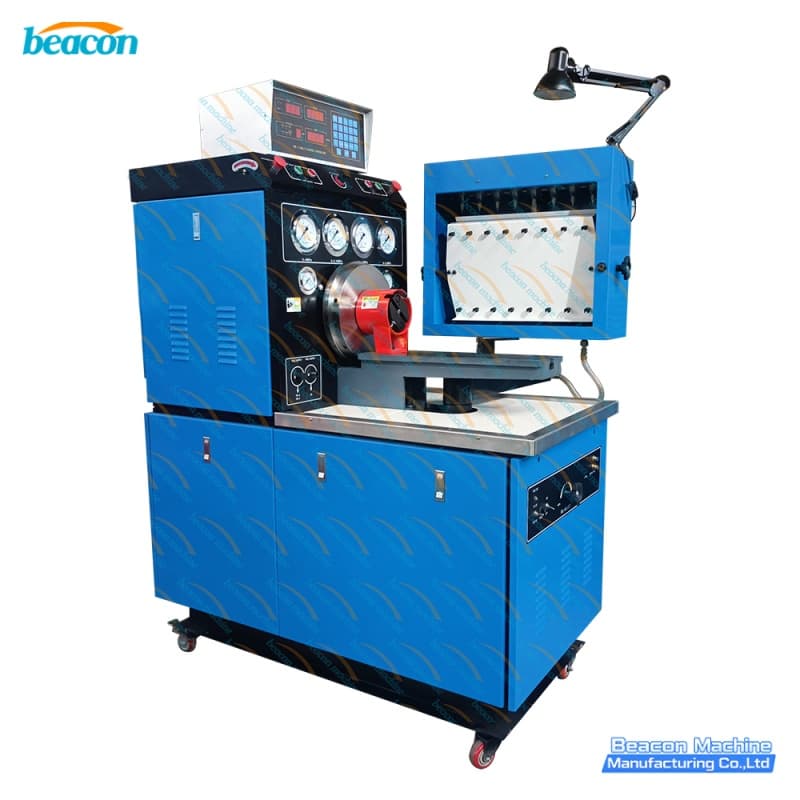
MINI12PSB 8 Cylinder Diesel Injection Pump Test Bench | Diesel Injection Pump Testing Equipment | BEACON MACHINE
Related News
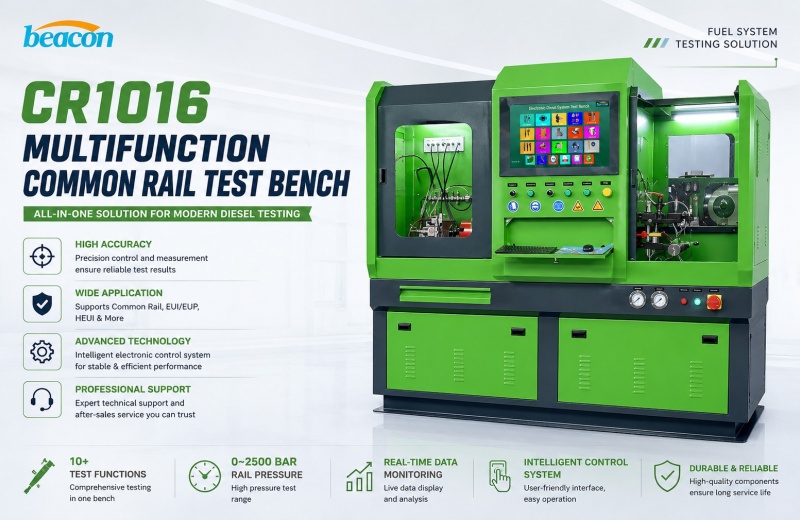
Enhancing Workshop Accuracy with the CR1016 Multi-function Common Rail Calibration Solution: The Ultimate Common Rail Test Bench and Diesel Injector Tester Guide
Jun. 12, 2026Upgrade your repair facility with the CR1016 multi-function common rail calibration solution, a premier common rail test bench and diesel injector tester. Optimize performance for Bosch, Denso, and Delphi fuel systems with precision automated diagnostic reporting today. (41 words)+ Details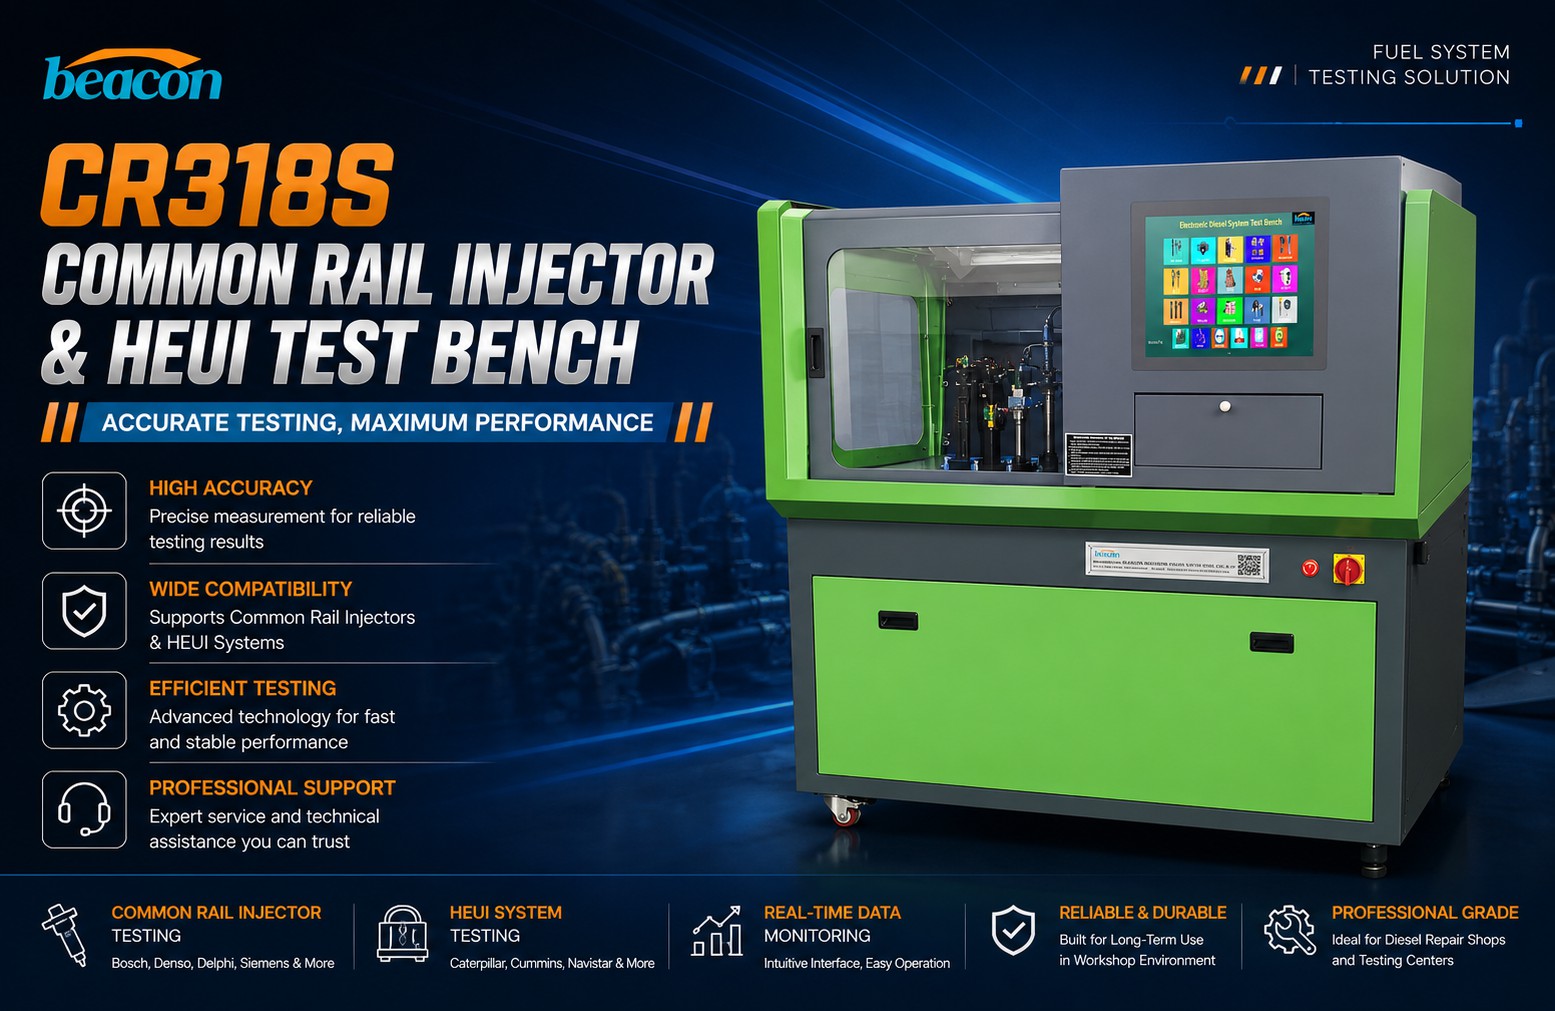
CR318S High-precision Diesel Injector Diagnostic Solution: Mastering the CR318S Common Rail Test Bench and HEUI Injector Tester BEACON MACHINE
Jun. 02, 2026Maximize your workshop ROI with our high-precision diesel injector diagnostic solution. The CR318S Common Rail Test Bench and HEUI Injector Tester offers 2600 Bar pressure and specialized Caterpillar C7/C9 testing for global engine service professionals.+ Details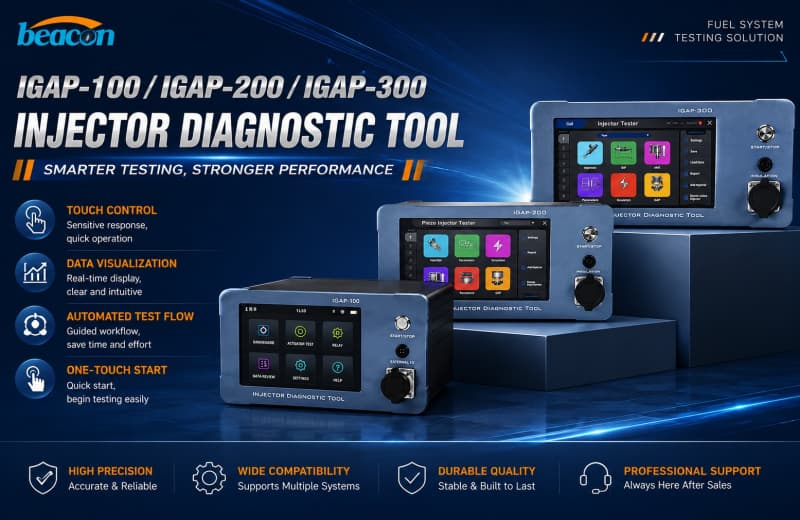
NEW Tester iGAP-300 Series: Choosing the Best Handheld Diesel Injector Diagnostic Solution for Your Common Rail Injector Tester and Piezo Injector Tester Needs-Beacon Machine
May. 29, 2026The IGAP-100 IGAP-200 IGAP-300 series offers the most advanced Common Rail Injector Tester and Piezo Injector Tester technology, featuring 7-inch HD touchscreens and automated reporting for global workshops.+ Details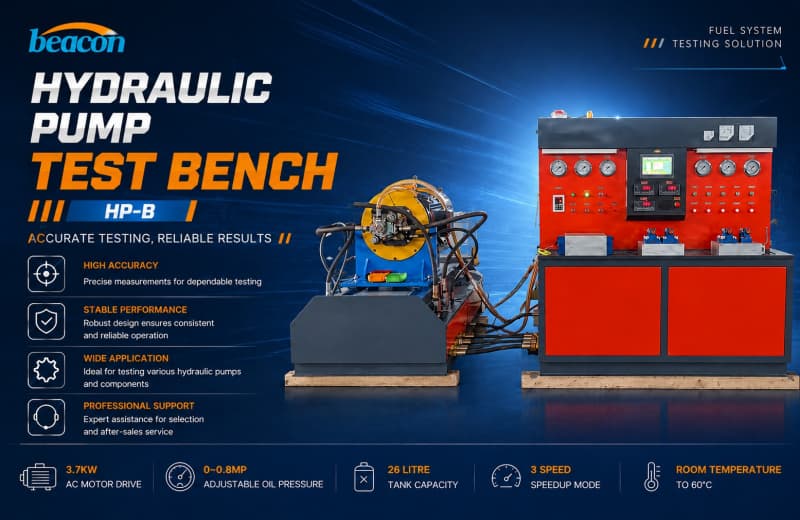
Heavy Duty Hydraulic Pump Calibration Station: Optimizing a High Pressure Hydraulic Pump Performance Testing Solution with the HP-B Hydraulic Pump Test Bench
May. 27, 2026Maximize industrial efficiency with our heavy duty hydraulic pump calibration station. Discover the high pressure hydraulic pump performance testing solution via the HP-B Hydraulic Pump Test Bench, featuring options up to 355KW and 700Bar for worldwide hydraulic service centers.+ Details
about beacon
PRODUCTS
contact us
TEL: 0086-13583836021
WhatsApp:+86-13583836021
Email: anneli@beacon-machine.com
Add: High Tech Industry Zone of East Tai an city,Shandong Province,China

WhatsApp

Wechat